If your email is suddenly bouncing or landing in spam, the first thing to rule out is a blacklist (DNSBL) listing — a record that flags your sending IP as a source of spam. The blacklist check tests your mail servers against the major lists at once. Here's how, using google.com as the example.
Step 1 — Enter an IP or domain
On the blacklist check, enter either a mail server's IP address or a domain. Give it a domain and it resolves that domain's MX servers to their IPs and checks each one. Press Check blacklists.

Step 2 — Read the result
Each sending IP is queried against five major blocklists in parallel:
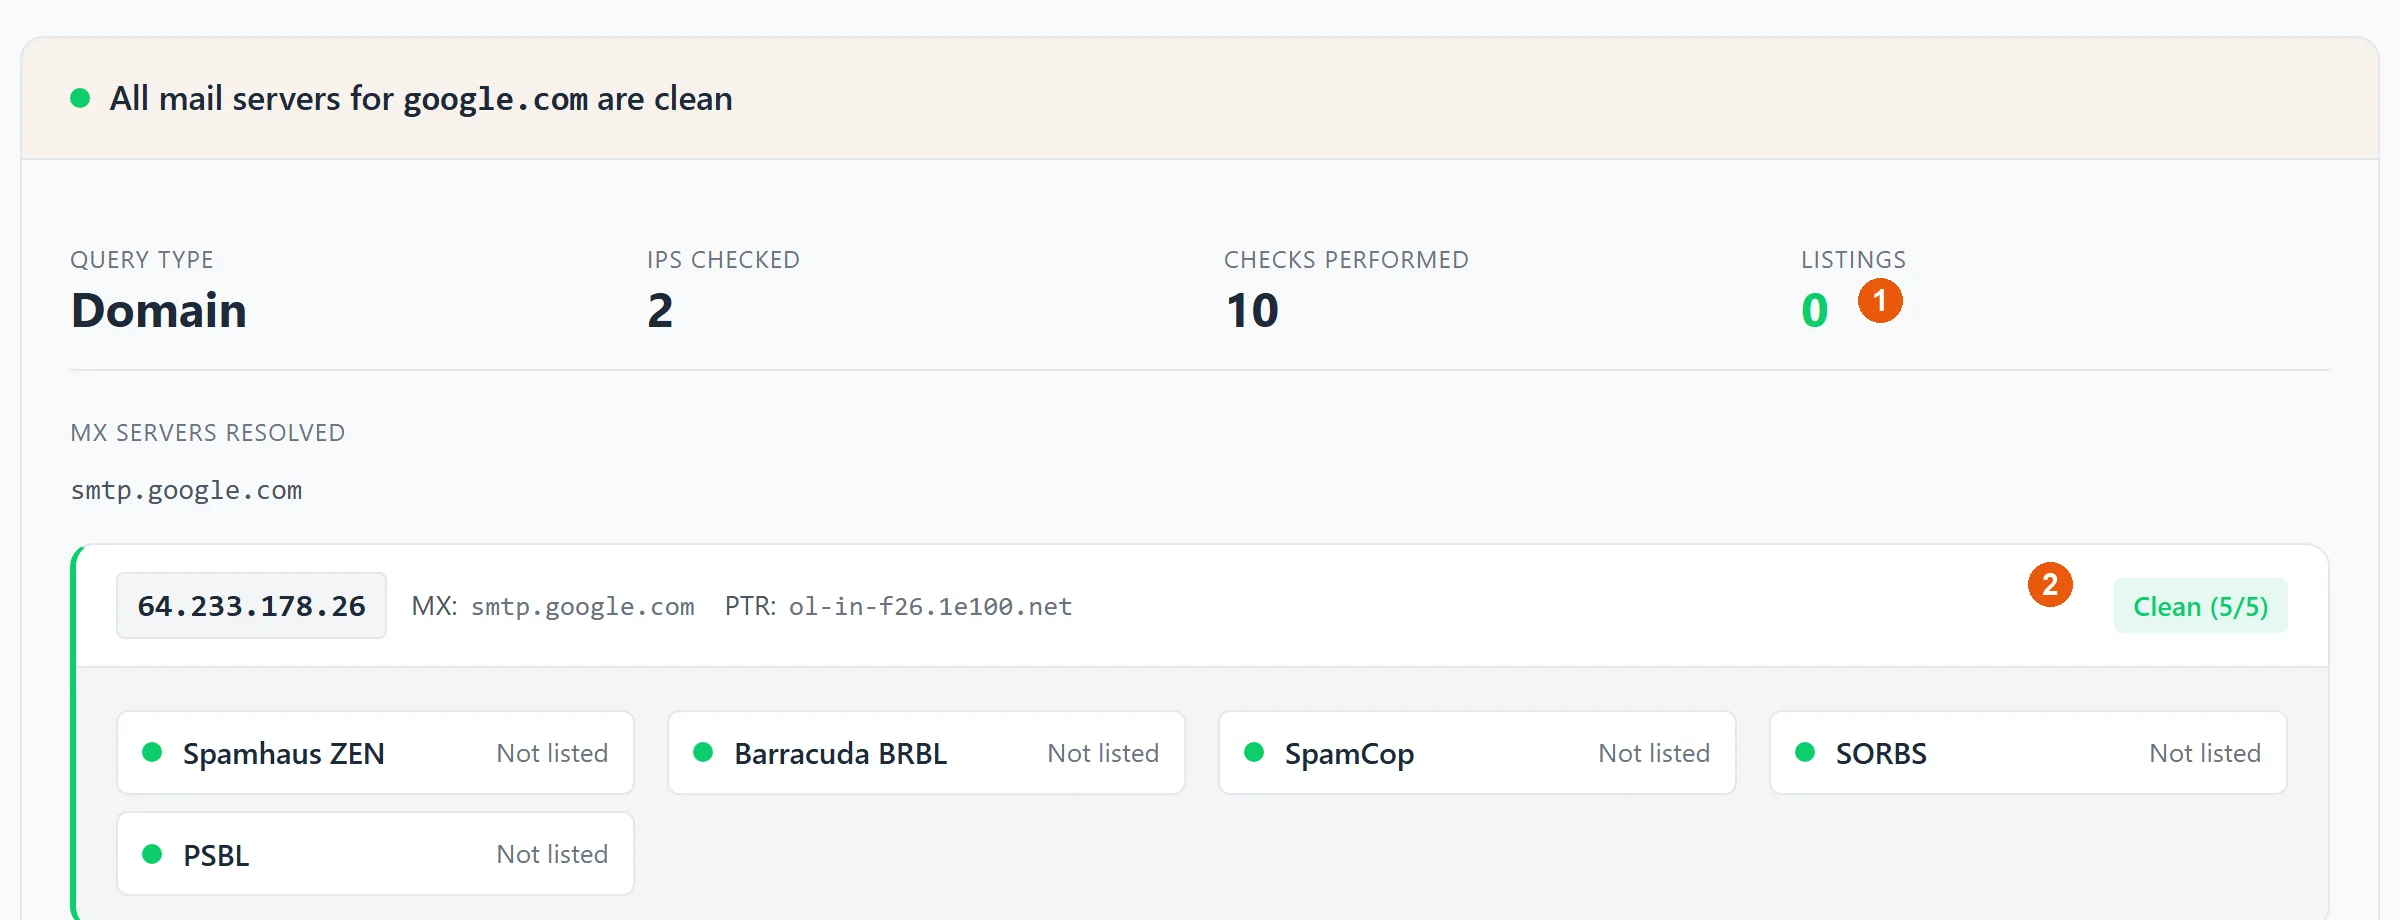
- 1The LISTINGS count is the headline —
0means you're clean on every list checked. - 2Every mail server IP gets a Clean (5/5) verdict (or a listing) across Spamhaus ZEN, Barracuda, SpamCop, SORBS, and PSBL — shown row by row so you know exactly which list flagged you.
What to do if you're listed
A listing usually means a compromised account, a misconfigured server, or a shared IP someone else abused. Fix the underlying cause first — lock down any compromised account, make sure your authentication (SPF, DKIM & DMARC) is solid, and confirm your reverse DNS is set — then use the delisting form on the specific blocklist that flagged you. For the wider picture of deliverability problems, see why are my emails going to spam?